In Progress!
Thank you for your patience while we update our article section. If there is an article that you want unarchived from the old website, please email [email protected] before August 2026.
Thank you for your patience while we update our article section. If there is an article that you want unarchived from the old website, please email [email protected] before August 2026.
The Minnesota Bonsai Society Spring Auction is just around the corner. Join us on June 27th for one of our most anticipated events of the year. Viewing begins at 10 a.m., with the auction to follow at 11 a.m. This is a great opportunity to add new material to your collection, find unique bonsai-related items,…
Monthly Presentation:Presentation from Kusamono professional Young Choe...
May 2026 Monthly Meeting recording Presentation: Carol Novak presentation on Kintsugi PDF of presentation can also be download here >> (PDF coming)...
Monthly Presentation:Special Guest Jason Ziehm from South Highschool and David Weiss present on “Bonsai for Social and Emotional Learning” Program and MBS Sponsorship. Derek Hill-Munõz and Gary Schwochau recap of recent trip to Japan, Kofuku Bonsai Tournament, and Related Experiences....
We are often asked where one should store trees for the winter (and placed for the summer as well!). We have created a quick refence document to help you place your trees. You will find an attachment with this summary. Please contact us in the event your tree is not listed here. Additionally, the second…...
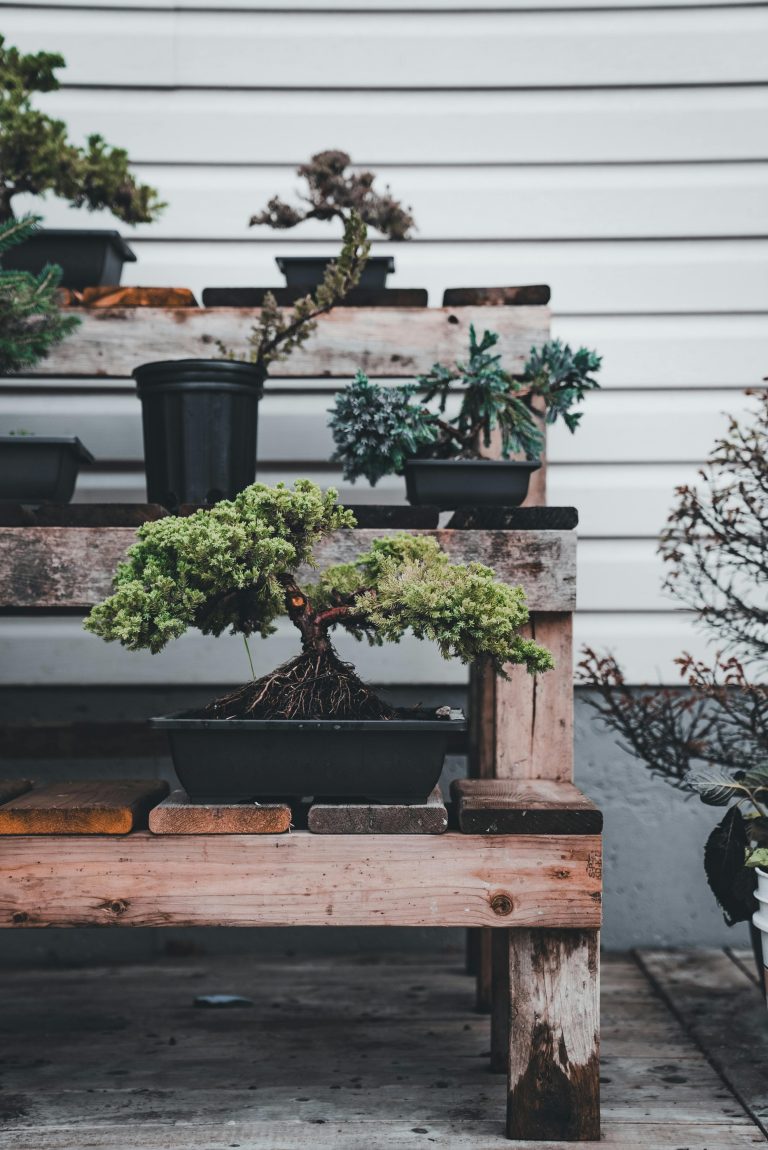
Getting Started. Regardless of your level of knowledge, as a member you are welcome at ANY of the meetings, classes and workshops sponsored by the club. Learn more about bonsai Monthly Program Meetings – Each month we have educational programs as well as access to experienced members who are happy to help you with your trees….

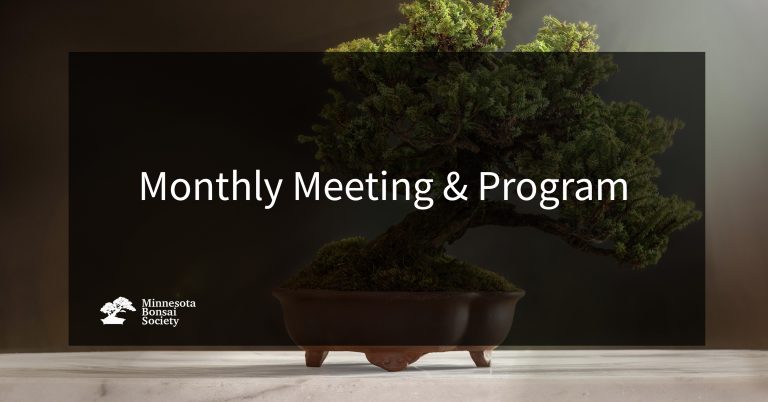
If the Monthly Meeting & Program is available by Zoom, you can join the meeting by using the link below. If the meeting isn’t suited for Zoom or if there are technical difficulties (like no internet) Zoom might not be available. You must have an active membership to view the links below. ________________________________________________...

The Minnesota Bonsai Society has created a document that may be useful for our members when considering estate planning and if one’s trees ever need to be re-homed in the case of injury, disability or death. Honoring the Lifelong Care of Bonsai For many of our members, bonsai is not just a hobby, but a…...
You must be a MBS 1 Year Membership member to access this content.
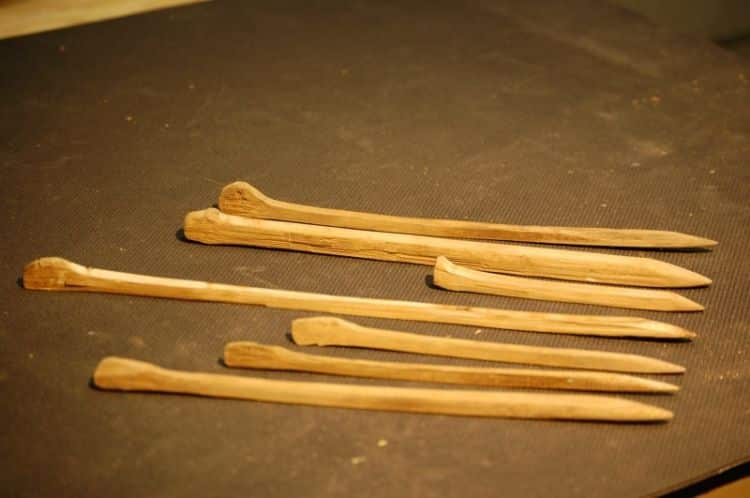
Check these out. One of my favorite new tools for bonsai are the homemade chopsticks I make for re-potting trees. I learned about these during my studies with Ryan Neil at Bonsai Mirai. They are more versatile and a lot stronger than most of the Chinese restaurant chopsticks I had been using. You can break off…...
You must be a MBS 1 Year Membership member to access this content.